
Start with a 50/50 mix of white vinegar (typical acetic acid concentration in household vinegar) and water. Spray it on glazed ceramic or porcelain tile, let it sit, and wipe it away. That handles most hard water stains on tile without any special equipment or expensive products.
Here’s the quick routine:
- Spray the 50/50 vinegar-and-water solution directly onto the stained tile surface.
- Let it dwell for several minutes (a short dwell time suitable for the level of buildup, but don’t walk away and forget it).
- Scrub gently with a soft-bristle brush or microfiber cloth, then rinse thoroughly with clean water and dry.
If vinegar alone doesn’t cut it, mix baking soda with just enough water to form a toothpaste-thick paste. Apply it to the stain, let it sit for 10 minutes, scrub in gentle circles, and rinse. That combination handles the majority of moderate mineral films on common household tile.
Pro Tip: Always patch-test any cleaner on a small, hidden area first. And if your tile is natural stone (marble, limestone, travertine) or unglazed cement, skip the vinegar entirely — acids etch those surfaces permanently. Wear gloves when using any commercial descaler.
Key Takeaways
The most effective approach to hard water stains on tile is to start gentle with a 50/50 vinegar solution, escalate in small steps, and match your cleaner to your tile type before applying anything.
| Point | Details |
|---|---|
| Start with vinegar on glazed tile | A 50/50 white vinegar and water spray with a 10–20 minute dwell removes most light deposits. |
| Baking soda paste is the second step | Apply toothpaste-thick paste for moderate stains; safe for most glazed tile and gentler on grout. |
| Avoid acids on natural stone | Marble, limestone, and travertine etch permanently; use only pH-neutral cleaners on these surfaces. |
| Seal porous tile every 2–3 years | Penetrating sealer in wet areas blocks mineral bonding and reduces future buildup significantly. |
| Carpetandtileplus for severe scale | IICRC-certified cleaners with organic products and a one-hour dry-time guarantee serve the Northwest Suburbs of Chicago. |
Table of Contents
- What are hard water stains and why do they stick to tile?
- Which cleaners and tools actually work on mineral deposits?
- How to remove hard water stains step by step, from light to severe
- What damages tile: tools and products to avoid
- How to prevent hard water stains from coming back
- When should you call a professional tile and grout cleaner?
- Why gentleness is the right default
- Carpetandtileplus handles what DIY can’t
- Sources
What are hard water stains and why do they stick to tile?
Hard water stains form when mineral-rich water evaporates and leaves its dissolved solids behind. The main culprits are calcium and magnesium, which bond to tile surfaces and build up with every shower, splash, or drip. Heat speeds this up, which is why hot showers produce more scale than cold-water splashes.
The color of the deposit often hints at what mineral you’re dealing with:
- White or gray film: calcium or magnesium (the most common)
- Rust-colored stains: iron or manganese in the water supply
- Blue-green tinge: copper, usually from older pipes
Porous tiles trap deposits more aggressively than smooth, glazed surfaces. Unglazed cement tile and handmade encaustic tile have microscopic surface channels that minerals settle into, making them harder to clean and easier to damage. Glazed ceramic and porcelain have a fired, glass-like surface that resists absorption, so deposits sit on top rather than inside the tile. That distinction matters for choosing your cleaning method.
Which cleaners and tools actually work on mineral deposits?
Common DIY cleaners
- White vinegar (50/50 with water): Effective on calcium and magnesium deposits on glazed tile. Cheap, widely available, and safe for most bathroom and kitchen tile. Avoid on natural stone, unglazed cement, and grout with repeated use, since the acid can degrade cementitious grout over time.
- Baking soda paste: A mild abrasive option for moderate mineral films. Mix with water to a paste, apply, and scrub gently. Safe for most glazed tile and less risky on grout than vinegar.
- Commercial descalers (e.g., CLR): Effective on severe scale but require strict label adherence and PPE. Use only on acid-safe surfaces. Never apply to marble, limestone, or travertine.
Tile-type compatibility
| Tile Type | White Vinegar | Baking Soda Paste | Commercial Descaler (CLR) | Etch Risk |
|---|---|---|---|---|
| Glazed ceramic / porcelain | Safe (diluted) | Safe | Safe per label | Low |
| Through-body porcelain | Safe (diluted) | Safe | Safe per label | Low |
| Unglazed cement / encaustic | Avoid | Use with caution | Avoid | High |
| Natural stone (marble, limestone, travertine) | Avoid | Safe | Avoid | Very high |
Tools to use (and what to skip)
Stick with microfiber cloths, soft-bristle brushes, and non-abrasive scrubbing pads. For professional work, a low-speed buffer with an appropriate soft pad can remove scale without scratching. Steel wool, stiff wire brushes, and scouring powders all scratch glazed surfaces and should never touch tile.
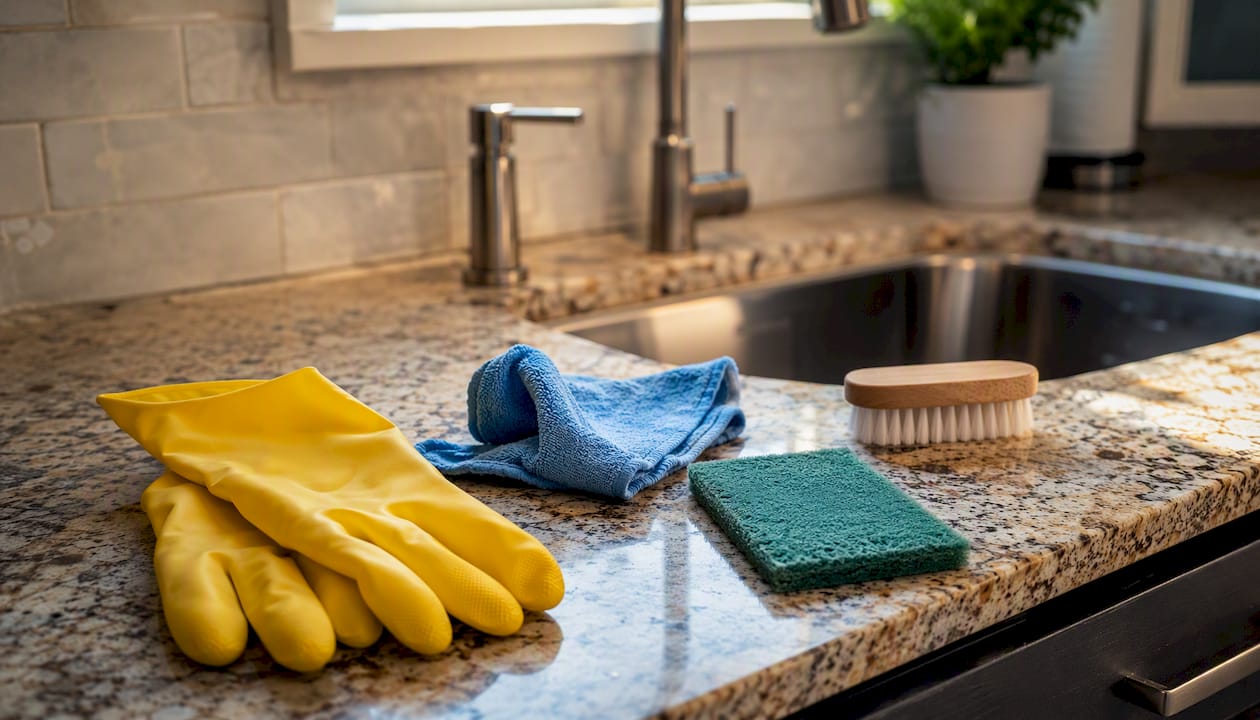
Pro Tip: Rinse thoroughly after any acid-based cleaner. Residual acid keeps working after you stop scrubbing, which can dull grout or etch stone even after you think you’re done. According to tile and grout trade guidance, patch-testing on a 6×6-inch inconspicuous area before full application prevents unexpected damage.
How to remove hard water stains step by step, from light to severe
Light stains
- Mix equal parts white vinegar and water in a spray bottle.
- Spray the stained area generously.
- Let it dwell for 10–20 minutes.
- Scrub with a soft brush or microfiber cloth using gentle, circular strokes.
- Rinse with clean water and dry with a towel.
Moderate stains
- Try the vinegar method first. If deposits remain, move to baking soda paste.
- Apply paste directly to the stain, covering it completely.
- Let it sit for 10 minutes.
- Scrub gently in circles with a soft brush.
- Rinse thoroughly and inspect. Repeat once if needed.
- For glazed tile only: if baking soda doesn’t clear it, a diluted phosphoric-acid-based tile descaler (follow the label exactly) can be applied with gloves and eye protection, then rinsed completely.
Severe or crusted scale
For heavy, layered deposits that don’t respond to vinegar or baking soda, a commercial descaler like CLR can work on acid-safe tile. Follow the manufacturer’s instructions precisely, wear gloves and eye protection, and work in a ventilated space. If the tile is natural stone, unglazed cement, or the grout looks compromised, stop and call a professional rather than risk permanent damage.
Dwell time reference
| Product | Suggested dwell time | Maximum before rinsing |
|---|---|---|
| 50/50 vinegar solution | 10–20 minutes | 30 minutes |
| Baking soda paste | 10 minutes | 20 minutes |
| CLR (per label) | 2 minutes | Per label instructions |
| Phosphoric-acid descaler | Per label | Per label instructions |
Patch-test and safety checklist
- Test any new cleaner on a hidden 6×6-inch area and wait a few minutes before proceeding.
- Wear rubber gloves for vinegar; chemical-resistant gloves and eye protection for commercial descalers.
- Open windows or run the exhaust fan when using any commercial product.
- Never mix vinegar and bleach or combine different commercial cleaners.
- Rinse all surfaces completely after cleaning to neutralize any acid residue.
What damages tile: tools and products to avoid
Aggressive cleaning methods cause permanent damage that no amount of re-cleaning can fix. The most common mistakes:
- Muriatic acid and hydrofluoric acid: Far too strong for household tile. Both can etch glazed surfaces, dissolve grout, and cause serious chemical burns.
- Scouring powders: The abrasive particles scratch glazed tile and remove the surface finish permanently.
- Steel wool and stiff wire brushes: Leave metal particles embedded in grout and scratch tile surfaces.
- Undiluted vinegar left too long: Even diluted acid causes grout degradation with repeated exposure. Concentrated vinegar on grout is a slow-motion etching problem.
- Abrasive scrubbing pads (e.g., green Scotch-Brite): Fine for pots, wrong for tile.
Never leave any acidic cleaner on cementitious grout or natural stone beyond the recommended dwell time. Acids can damage grout and calcite-based stone even in diluted form. Always rinse fully, and if you see the surface dulling or the grout color changing, stop immediately and flush with water.
The pattern with tile damage is that it’s usually irreversible. A dulled marble surface or a bleached grout line doesn’t come back with more cleaning. Gentleness is not just caution — it’s the practical choice.
How to prevent hard water stains from coming back
Prevention is mostly about not letting water sit. Mineral deposits only form when water evaporates, so removing water before it dries is the single most effective habit you can build.
Sealing porous tiles with a penetrating sealer fills the microscopic channels in unglazed or natural stone tile, making it much harder for minerals to bond. In high-moisture areas like showers, plan to reapply sealer every 2–3 years. Grout lines benefit from sealing too, since unsealed grout absorbs both water and mineral residue.
Maintenance schedule
| Frequency | Task |
|---|---|
| Daily | Squeegee shower walls and glass after each use; wipe down tile backsplashes |
| Weekly | Quick spray-and-wipe with diluted vinegar on glazed tile; dry fixtures |
| Monthly | Soak showerhead in vinegar for 30 minutes to clear internal mineral buildup |
| Every 2–3 years | Reapply penetrating sealer to porous tile and grout in wet areas |
If your home has particularly hard water, testing your water hardness with an inexpensive home kit can tell you whether a whole-house water softener or a point-of-use filter is worth the investment. Addressing the mineral content at the source is the only way to stop buildup permanently rather than just managing it.
Pro Tip: Before applying any sealer, test it in an inconspicuous spot and follow the manufacturer’s cure time exactly. Sealing over residual moisture or mineral deposits traps them in place and reduces the sealer’s effectiveness.
When should you call a professional tile and grout cleaner?
Some situations genuinely call for professional help, and recognizing them early saves you from making the problem worse.
Call a pro when you see:
- Deposits that don’t respond after two or three rounds of safe DIY methods
- Widespread, crusted limescale covering large tile areas
- Grout that looks recessed, eroded, or discolored beyond surface staining
- Etched or dull patches on natural stone or cement tile
- Any situation where you’re unsure whether the tile can handle an acid-based cleaner
A professional service includes a proper inspection, patch testing with matched chemistry, and the right mechanical tools (low-speed buffers, professional-grade descalers) that aren’t practical for a homeowner to own. For damaged grout, a pro can also handle repair and re-sealing in the same visit.
IICRC-certified cleaners bring a level of chemical knowledge that matters on delicate or expensive tile. Knowing which pH level is safe for a specific tile type, and how long to let a product dwell, is the difference between restoring a surface and permanently damaging it. Professional tile restoration services cover the full range from descaling to polishing and grout repair.
Carpetandtileplus serves homeowners across the Northwest Suburbs of Chicago with IICRC-certified cleaners, organic cleaning products, and a one-hour dry-time guarantee. When DIY has reached its limit, a professional visit is a straightforward next step.
Why gentleness is the right default
The instinct when facing a stubborn stain is to reach for something stronger. More acid, more scrubbing, a harsher product. That instinct is usually wrong with tile.
Mineral deposits are a surface problem. They sit on or just inside the tile, and the goal is to dissolve the mineral bond, not to sand the surface down. Mild acids dissolve calcium and magnesium deposits far more effectively than scrubbing, and they do it without abrading the tile finish. The scrubbing that feels satisfying is often the part doing the damage.
Patch-testing before committing to a full application isn’t just a precaution. It’s the only way to know how your specific tile responds to a specific product, because tile varies enormously in composition and finish. A 30-second test on a hidden corner takes almost no time and can prevent a repair bill.
When the stain genuinely won’t move with safe methods, that’s the signal to call a professional rather than escalate to something harsher on your own.
Carpetandtileplus handles what DIY can’t

When hard water deposits have built up beyond what vinegar and baking soda can reach, Carpetandtileplus brings the professional-grade solution. The team uses IICRC-certified cleaners, organic and chlorine-free products, and matched chemistry for each tile type, so there’s no guessing about what’s safe for your surface. The one-hour dry-time guarantee means your bathroom or kitchen is back in use the same day.
Carpetandtileplus serves homeowners across the Northwest Suburbs of Chicago, including Elgin, Bartlett, Streamwood, Arlington Heights, Palatine, Barrington, and Hanover Park. For residential tile and grout cleaning that covers everything from light mineral film to severe crusted scale, reach out for a free estimate and find out what a professional clean actually looks like.
Sources
- Hard Water Stain Removal for Delicate Tile — Original Mission Tile
- How To Remove Hard Water Stains, According To A Pro — Good Housekeeping
- How To Remove Hard Water Stains, According To A Pro — Southern Living
- Tile & Grout Cleaning: The Complete Guide — CleaningTuts
- Remove Hard Water Stains From Floors — Blackburns Interiors
- What Causes Hard Water Stains and How to Stop Buildup — VitaCleanHQ
- How to Remove Hard Water Stains — Stain Removal Guides