
Unsealed cementitious grout needs an oxygen-based or alkaline cleaner, not acid. Here is the fastest safe path: (1) clean with a baking soda and hydrogen peroxide paste or a diluted oxygen bleach solution, (2) extract the dirty rinse water with a wet/dry vac and let the surface dry fully for 24–48 hours, (3) apply a penetrating sealer once dry, or call a professional if staining is deep, mold keeps returning, or grout is crumbling. Always wear gloves, open windows, and test a small hidden patch before treating the whole floor.
Key Takeaways
Unsealed cementitious grout cleans safely with oxygen-based or alkaline chemistry, requires full extraction of rinse water, and must dry 24–48 hours completely before sealing.
| Point | Details |
|---|---|
| Use the right chemistry | Oxygen bleach or alkaline cleaners protect grout; acids etch and weaken the cement base. |
| Extract rinse water | A wet/dry vac removes dirty water so soils do not re-deposit into porous grout joints. |
| Dry before sealing | Wait 24–48 hours after cleaning; use the water-drop test to confirm dryness before applying sealer. |
| Reseal on schedule | High-traffic and wet areas need resealing every 1–2 years; run the water-bead test annually. |
| Carpetandtileplus | IICRC-certified team serving Northwest Chicago suburbs with extraction cleaning and one-hour dry time. |
Table of Contents
- How to clean unsealed grout: prep and safety first
- Which cleaning method works best for unsealed grout?
- What should you never use on unsealed cementitious grout?
- How to remove mold and mildew from unsealed grout safely
- How long should you wait before sealing, and which sealer should you use?
- When should you hire a professional tile and grout cleaner?
- How to maintain unsealed or newly sealed grout long-term
- What does industry research say about grout cleaner chemistry?
- A professional perspective on cleaning unsealed grout
- Professional tile and grout cleaning in the Northwest Chicago suburbs
- Sources
How to clean unsealed grout: prep and safety first
Before any cleaner touches your floor, a few minutes of prep prevents damage and wasted effort.
- Sweep or vacuum the area thoroughly. Loose grit scratches tile and clogs grout pores when wet.
- Remove rugs, furniture, and anything that could trap moisture against the grout.
- Put on nitrile gloves and eye protection. Open windows or run a bathroom fan for ventilation.
- Never mix cleaners. Bleach plus ammonia-based products produces toxic chloramine gas.
- Test a small, hidden patch first. Apply your chosen cleaner, wait the full dwell time, then check for tile discoloration, grout softening, or color change before treating the whole surface.
Pro Tip: On sanded grout (joints wider than 1/8 inch), use a softer nylon brush and extend dwell time rather than scrubbing harder. Aggressive scrubbing can dislodge sand particles and widen the joint.
For a full walkthrough on how grout cleaning prepares your surface for sealing, the process matters as much as the products you choose.
Which cleaning method works best for unsealed grout?
The right method depends on how dirty the grout is. Ranked from gentlest to most aggressive:
1. Baking soda and hydrogen peroxide paste (everyday spots)
Mix two parts baking soda with one part 3% hydrogen peroxide to form a thick paste. Apply directly to the grout line, let it sit for 10–15 minutes, then scrub with a stiff nylon brush and rinse. The Spruce recommends adding a few drops of dish soap to this mix for greasy spots. Rinse thoroughly and extract the water with a wet/dry vac.
2. Oxygen bleach solution (larger areas, organic stains)
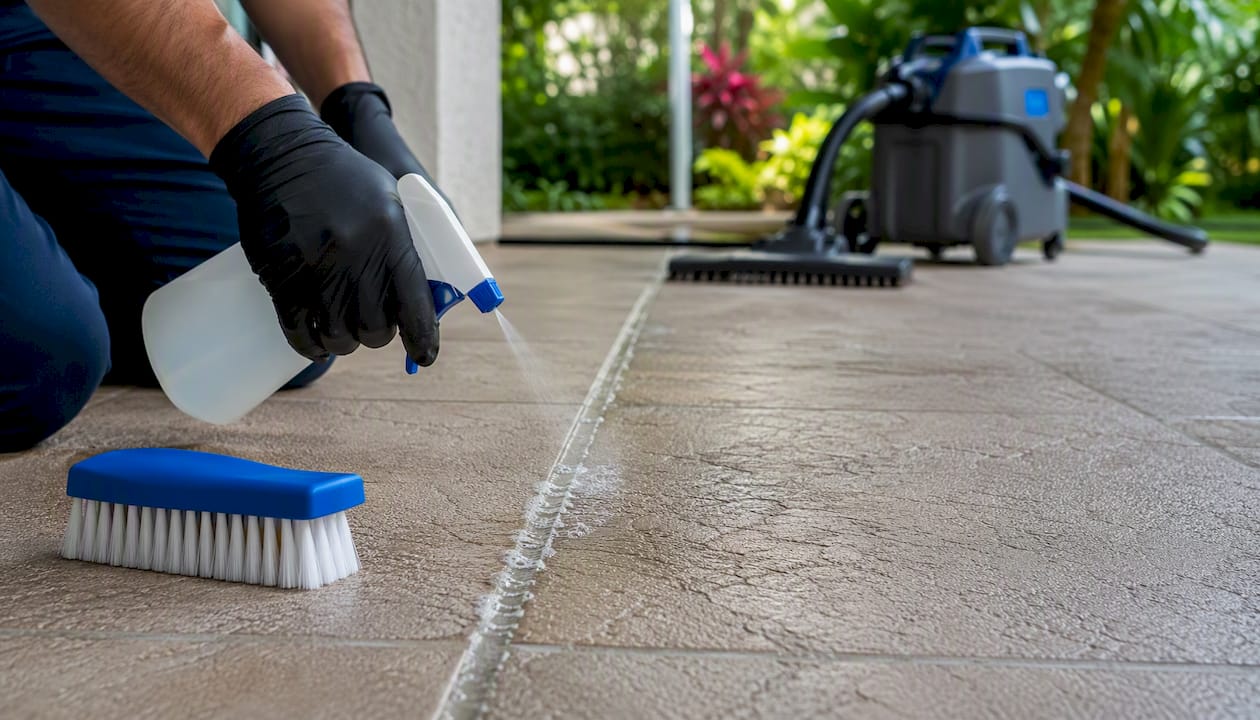
Dissolve oxygen bleach (sodium percarbonate, sold as OxiClean or similar) in warm water per the package ratio, typically one scoop per gallon. Pour or spray onto grout, let it dwell 20–30 minutes, scrub with a nylon brush, then extract. Oxygen bleach is pH-neutral to mildly alkaline and breaks down to water and oxygen, making it safe for cementitious grout and most natural stone at recommended dilutions. This is the go-to escalation step when a paste alone is not cutting through set-in organic stains.
3. Commercial alkaline grout cleaner (heavy soil, grease)
Products like MAPEI UltraCare Grout Cleaner are formulated as alkaline detergents without corrosive agents. Follow the label dilution, apply, dwell 5–10 minutes, scrub, and extract. Always run a compatibility test on a hidden tile first.
4. Steam cleaning (stubborn stains, escalation)
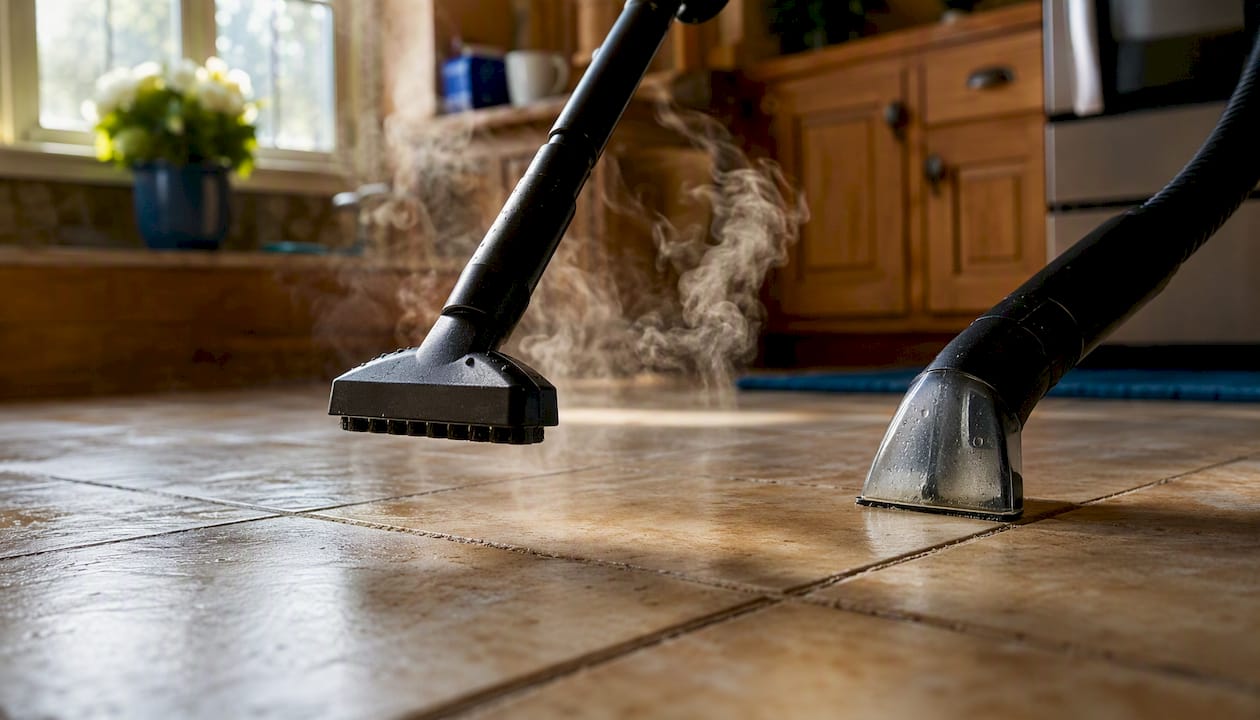
Steam can loosen stains that resist conventional cleaners. The catch: if you push steam into porous grout without immediately extracting the loosened soil, contaminants can settle deeper. Use steam only with a follow-up wet/dry vac extraction.
What should you never use on unsealed cementitious grout?
Acids are the biggest mistake homeowners make. Vinegar, CLR, lemon juice, and any cleaner with a pH below 7 will etch the alkaline cement base, increase porosity, and accelerate deterioration. The grout may look cleaner briefly, then absorb stains faster than before.
- Vinegar and lemon juice: Household staples that dissolve the cement binder over time.
- CLR and descalers: Formulated for mineral deposits, but the acid attacks grout chemistry.
- Oil- or wax-based cleaners (Pine-Sol, Murphy’s Oil Soap): Leave a residue film that attracts dirt and shortens the clean appearance lifetime of grout. Professional teams frequently have to strip this residue before a proper clean can happen.
- Wire brushes and metal scrapers: Scratch tile glazing and gouge grout joints mechanically.
- Undiluted chlorine bleach: Weakens grout over repeated use and can discolor colored grout.
Pro Tip: If you have been using a wax-based floor cleaner on your tile, strip the residue with a diluted alkaline cleaner before attempting any grout brightening. Cleaning over a wax film just moves the dirt around.
The safer swap for most of these is a pH-neutral cleaner for routine care and an oxygen bleach solution for anything tougher.
How to remove mold and mildew from unsealed grout safely
Mold in grout is common in bathrooms and kitchens, and unsealed grout makes it worse because moisture penetrates freely.
- Ventilate the room fully. Open windows, run the exhaust fan, and wear gloves plus an N95 mask for any visible mold growth.
- Spray undiluted 3% hydrogen peroxide directly onto the affected grout lines. Let it sit for 10 minutes.
- Scrub with a stiff nylon brush. Do not use bleach and hydrogen peroxide together.
- Rinse thoroughly and extract all rinse water with a wet/dry vac. Leaving moisture behind feeds the next mold cycle.
- Dry the surface completely before any sealer application.
If mold returns within a few weeks of cleaning, that is a signal of a moisture problem behind the tile, not just a surface issue. Large affected areas (more than 10 square feet) or any sign of substrate moisture, soft drywall, or grout that crumbles when you probe it with a screwdriver means a professional should assess the situation before you clean again.
How long should you wait before sealing, and which sealer should you use?
Grout must be completely dry before sealer goes on. Unsealed cementitious grout darkens when wet because it absorbs water into its pores; sealing reduces that absorption but requires a fully dry surface to bond properly. Wait 24–48 hours after cleaning, longer in humid conditions or poorly ventilated spaces.
The water-drop test: Drip a few drops of water onto the cleaned grout. If the water beads up, the grout is dry and ready. If it absorbs immediately and darkens, wait longer.
Sealer types to know:
- Penetrating (impregnating) sealers: Soak into the grout pores and repel water and oil from within. LATICRETE recommends penetrating sealers for cement grout in wet or high-traffic areas because they offer longer protection without changing the surface appearance. STONETECH products are one example LATICRETE references for maintenance and stain protection.
- Topical sealers: Coat the surface and can alter sheen. They wear faster in high-traffic areas and need more frequent reapplication.
For application, use a small foam brush or a sealer applicator bottle to work the sealer into the joint. Wipe excess off tile faces within 5 minutes before it hazes. Apply a second coat after the first dries (usually 30–60 minutes). For a detailed step-by-step on sealing after professional cleaning, the process is straightforward when the surface is properly prepped.
Reseal high-traffic or wet areas every 1–2 years. Low-traffic dry areas can go 3–4 years between applications.
Pro Tip: Run the water-drop test annually. If water absorbs in under 30 seconds, the sealer has worn and it is time to reseal.
When should you hire a professional tile and grout cleaner?
DIY methods handle most surface soiling well. These situations call for a professional:
- Staining that persists after two rounds of oxygen bleach treatment
- Grout that crumbles, cracks, or feels soft when pressed
- Mold that returns within weeks of cleaning
- Any sign of water intrusion behind the tile (hollow sound when tapped, loose tiles, efflorescence)
- Large areas where consistent results matter (whole-floor restoration, commercial spaces)
- You want to reseal or regrout and need a clean, residue-free surface to start from
Professional teams bring truck-mounted or portable extraction equipment that removes dirty rinse water completely, a step most DIY approaches skip. The TCNA identifies shop-vac extraction as the preferred professional practice to prevent re-depositing soils into porous grout joints. Pros also carry grout colorants, matching replacement grout, and the tools to regrout individual joints without disturbing surrounding tile.
Pro Tip: Ask any professional service whether they use extraction equipment. If the answer is mop-and-bucket only, the dirty water goes back into your grout.
Carpetandtileplus’s residential tile and grout cleaning uses IICRC-certified technicians, organic cleaning products, and extraction equipment, with a one-hour dry time so your floor is back in use the same day.
How to maintain unsealed or newly sealed grout long-term
Cleaning less often starts with cleaning smarter every day.
- Sweep or vacuum tile floors before mopping. Grit is the fastest way to grind soil into grout.
- Use a pH-neutral cleaner for routine mopping. Dish soap diluted in water works. Avoid anything acidic or wax-based.
- Clean up spills immediately, especially oil, wine, and coffee. Unsealed grout absorbs these within minutes.
- Monthly spot-check: mix a small baking soda paste and scrub any discolored joints before staining sets.
- Before trying any new cleaning product, test it on a hidden grout line and wait 24 hours.
- Run the water-drop test once a year to check sealer effectiveness. Reapply when water stops beading.
For high-traffic areas like kitchen floors and bathroom shower pans, a consistent maintenance routine makes the difference between grout that looks good for a decade and grout that needs replacement in five years.
What does industry research say about grout cleaner chemistry?
The Tile Council of North America is the clearest authoritative voice on this: alkaline or oxygen-based cleaners are the right chemistry for cementitious grout. Acids dissolve the alkaline cement base. The TCNA also describes shop-vac extraction as the preferred professional practice because mopping alone re-suspends soils that then settle back into porous grout joints as the water dries.
TCNA guidance: Use alkaline or oxygen-based cleaners on cementitious grout. Remove dirty rinse water by vacuum extraction to prevent re-depositing suspended soils back into the grout pores.
LATICRETE’s cement grout care guidance reinforces this: pH-neutral cleaners for daily maintenance, alkaline cleaners for heavy soil, and penetrating sealers for long-term protection. STONETECH products appear in LATICRETE’s own maintenance recommendations as examples of appropriate sealer and cleaner chemistry.
MAPEI’s UltraCare Grout Cleaner documentation adds one practical rule: test compatibility on a hidden area before full application, regardless of how safe a cleaner’s formulation is. Grout color, tile glaze, and joint width all affect how a product performs on your specific floor.
Understanding how tile grout porosity affects your cleaning method helps explain why the same oxygen bleach solution that works well on a sanded floor grout needs a shorter dwell time on a tighter, unsanded bathroom joint.
A professional perspective on cleaning unsealed grout
Most homeowners underestimate one thing: extraction. They apply a good cleaner, scrub well, and then mop the rinse water away. That mop pushes diluted soil back into the same pores they just cleaned. The TCNA’s guidance on shop-vac extraction exists precisely because this step is what separates a genuinely clean grout joint from one that looks clean until it dries.
The second underestimated factor is sealer timing. Grout sealed too soon traps moisture and can develop mildew under the sealer film. Grout sealed too late, after foot traffic resumes, picks up new soils before the sealer bonds. The 24–48 hour window after cleaning is not arbitrary.
After two decades of tile and grout work in the Northwest Suburbs of Chicago, the pattern is consistent: the homes that need the least aggressive intervention are the ones where someone cleaned with the right chemistry, extracted the rinse water, and resealed on schedule. The homes that need regrouting are usually the ones where acid-based cleaners or wax residue built up over years until the grout structure itself was compromised.
Professional tile and grout cleaning in the Northwest Chicago suburbs
Dirty, stained grout that resists DIY cleaning is exactly what Carpetandtileplus handles every day across Elgin, Bartlett, Streamwood, Arlington Heights, Palatine, Barrington, and Hanover Park.

Every job starts with an on-site inspection to assess staining depth, grout condition, and tile compatibility. The IICRC-certified team uses organic, eco-friendly cleaners with professional extraction equipment, so dirty rinse water comes out of the grout instead of settling back in. Dry time runs about one hour, meaning your kitchen or bathroom is back in use the same day. Optional resealing or spot regrouting is available as part of the same visit.
Book your tile and grout cleaning with Carpetandtileplus and get a clean floor that is ready to seal, not just surface-level refreshed.
Sources
The following sources informed the cleaner chemistry, sealer guidance, and professional practice recommendations throughout this article:
- Cleaning Grout | Tile Council of North America
- Cement Grout Care & Maintenance Tips | LATICRETE
- How To Clean Unsealed Grout Without Damaging Your Tile – D and G Flooring
- UltraCare Grout Cleaner (product document) | MAPEI
- How to Clean and Restore Tile Grout | The Spruce