
Proper preparation is the single biggest factor separating a carpet that looks refreshed from one that ends up damaged, still dirty, or slow to dry. Knowing how to prepare home carpet cleaning correctly means clearing furniture, vacuuming with a HEPA-filter machine, testing solutions for colorfastness, and choosing the right method before a single drop of water touches your floor. Skip these steps and you risk muddy fibers, permanent staining, and mold growth beneath the surface. This guide walks you through every preparation action, method comparison, and post-cleaning practice you need to protect your carpet and get the best result possible.
What steps should homeowners take to prepare for carpet cleaning?
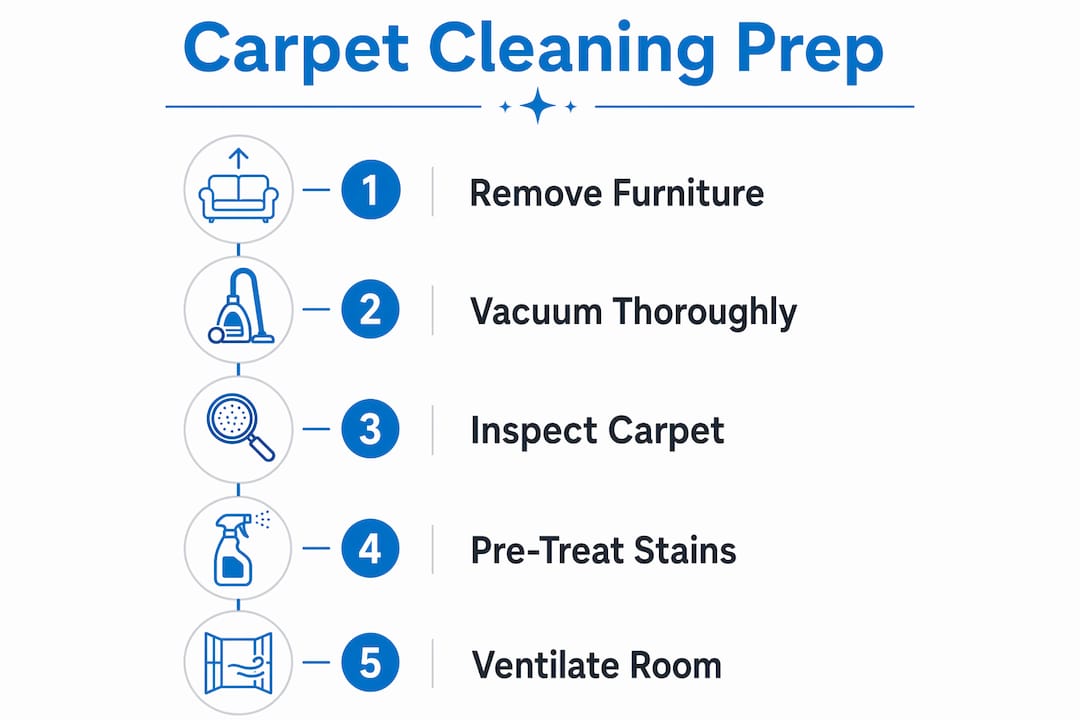
Preparation determines your cleaning outcome before the machine even turns on. Removing furniture, vacuuming in multiple directions, and testing your cleaning solution are all mandatory steps. Skipping any one of them can cause poor results, fiber damage, or discoloration you cannot reverse.
Follow this carpet cleaning checklist before any deep clean:
- Clear the room as much as possible. Move chairs, ottomans, side tables, and lamps out of the space entirely. Lighter furniture is easy to relocate; heavier pieces like sofas and dressers need a different approach.
- Protect heavy furniture you cannot move. Aluminum foil or plastic barriers placed under furniture legs prevent wood stain and rust transfer onto damp carpet. This is one of the most overlooked steps in home carpet cleaning, and the damage it prevents is permanent.
- Vacuum slowly in two directions. Multi-directional vacuuming with HEPA filters lifts embedded grit that a single-pass vacuum misses entirely. Go north to south first, then east to west. This fluffs the fibers and opens them up for deeper cleaning penetration.
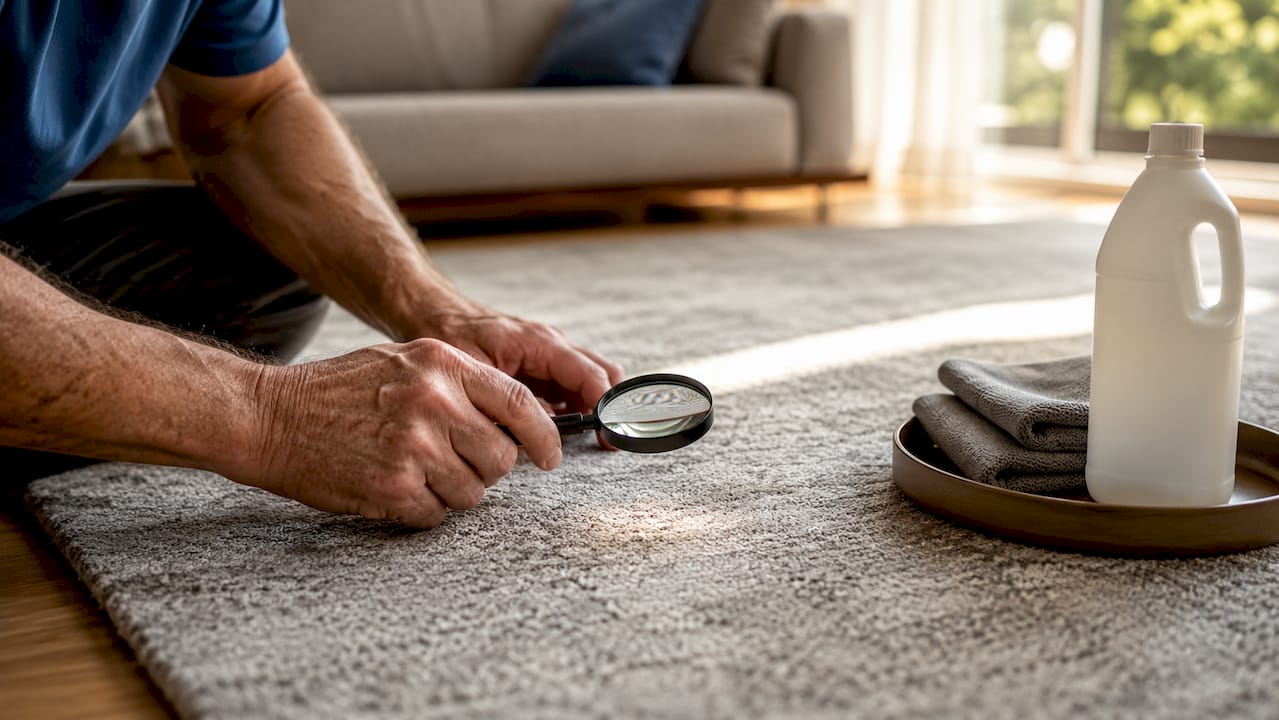
- Check for and mark visible stains. Walk the room before cleaning and note any spots that need pre-treatment. Treating stains after the machine has already run is far less effective.
- Test your cleaning solution for colorfastness. Apply solution to a hidden area and wait at least 10 minutes before full application. If the color bleeds or the fiber texture changes, stop and choose a milder product.
- Plan your cleaning path. Always start farthest from the room’s exit and work backward toward the door. This prevents you from walking over freshly cleaned carpet and reintroducing dirt.
A thorough carpet inspection before cleaning also helps you spot worn areas, loose seams, or existing damage that could worsen under heavy moisture.
Pro Tip: Run your vacuum over high-traffic areas like hallways and living room centers at least twice before cleaning. These zones hold the most embedded grit, and a single pass will not reach it.
Hot water extraction vs. shampooing: which method should you choose?
The method you choose changes how you prepare and what you should expect after cleaning. Hot water extraction and carpet shampooing are the two most common residential methods, and they perform very differently.
Hot water extraction is the gold standard for residential carpet cleaning. The IICRC clarifies that “steam cleaning” is actually hot water injection, not true steam. The machine injects hot water and cleaning solution deep into the fiber, then extracts it along with dissolved dirt and allergens. Hot water extraction removes embedded allergens and dries in 4–12 hours under good ventilation conditions. That drying window is short enough to avoid mold risk in most homes.
Carpet shampooing uses a rotating brush to work detergent into the fiber. The process is effective at surface-level cleaning but carries two serious risks. First, the residue left behind by shampoo acts as a dirt magnet, pulling new soil into the fiber faster than a clean carpet would. Second, drying times run longer than hot water extraction, which raises the risk of mold beneath the carpet pad.
| Feature | Hot Water Extraction | Carpet Shampooing |
|---|---|---|
| Cleaning depth | Deep fiber penetration | Primarily surface level |
| Allergen removal | High | Moderate |
| Drying time | 4–12 hours | 12–24+ hours |
| Residue risk | Low | High without rinse |
| Best for | Deep clean, allergy homes | Light refresh, low-pile carpet |
| Preparation needed | Full furniture removal, HEPA vacuum | HEPA vacuum, rinse step required |
Pre-treating traffic lanes and stains with a pre-spray solution and allowing adequate dwell time significantly improves results with either method. Skipping pre-treatment leads to uneven cleaning and visible dirt lines after drying.
Pro Tip: If you choose shampooing, always follow with a plain water rinse pass. Leftover soap residue attracts dirt and shortens the time before your carpet looks dingy again.
What DIY cleaning tips work best before professional cleaning?
DIY pre-treatment is not a replacement for professional cleaning. It is a preparation tool that makes professional work more effective. The goal is to loosen stains and deodorize fibers so the machine can extract more on the first pass.
Here are the most reliable DIY carpet cleaning methods to use before a professional visit:
- Baking soda for odors. Sprinkle baking soda generously over the carpet, let it sit for 15–30 minutes, then vacuum thoroughly. Baking soda neutralizes odors at the fiber level rather than masking them. This works especially well in pet areas.
- White vinegar and water for fresh stains. Mix equal parts white vinegar and cold water in a spray bottle. Apply lightly to the stain and blot with a clean white cloth. Never rub. Rubbing spreads the stain and pushes it deeper into the fiber.
- Dish soap for grease spots. A drop of clear dish soap mixed with warm water cuts through grease-based stains. Apply with a cloth, blot from the outside of the stain inward, and rinse with cold water.
- Avoid over-sudsing. Using too much cleaning solution leaves residue that traps dirt. Less product applied correctly outperforms heavy application every time.
- Blot, never scrub. Scrubbing damages carpet fibers and creates a fuzzy, matted patch that is visible even after cleaning. Always press and lift with a clean cloth.
For homeowners who want to go further with safe products, the eco-friendly carpet cleaning solutions guide covers natural options that work without harsh chemicals. This matters especially in homes with children or pets who spend time on the floor.
How can you ensure proper drying after carpet cleaning?
Drying is where most homeowners lose the gains they made during cleaning. A carpet that stays wet too long develops mold beneath the pad, and by the time you smell it, the damage is already done.
Follow these steps to dry your carpet correctly after any deep clean:
- Open windows and run ceiling fans immediately after cleaning. Air movement across the carpet surface is the fastest way to reduce moisture. Point fans horizontally across the floor, not straight down, to maximize evaporation.
- Run your HVAC system. Central air or heat pulls moisture from the air and speeds drying significantly. Set it to a comfortable temperature and let it run continuously until the carpet is dry to the touch.
- Use a dehumidifier in humid conditions. If drying exceeds 24 hours, mold and mildew risk increases sharply. Keep indoor humidity below 60% using a dehumidifier, especially in summer months or in basements.
- Stay off the carpet until it is fully dry. Foot traffic on wet carpet presses dirt back into the fiber and flattens the pile. Even clean shoes carry oils and debris that transfer easily to damp fibers.
- Use slow machine passes during cleaning. The slow move technique during extraction improves how much moisture the machine pulls back out. Fast passes clean only the surface and leave excess water behind.
Pro Tip: After your main cleaning pass, run a second dry pass with the machine set to extraction only and no solution. This pulls out residual moisture and any remaining detergent, cutting drying time and reducing residue.
Knowing how often carpets should be cleaned also helps you plan drying windows around your household schedule. Industry experts recommend professional deep cleaning every 6–12 months, or every 3 months for homes with pets or allergy sensitivities.
Key takeaways
Thorough preparation before cleaning, combined with the right method and proper drying, determines whether your carpet comes out refreshed or damaged.
| Point | Details |
|---|---|
| Preparation is non-negotiable | Remove furniture, vacuum in two directions, and test solutions before cleaning begins. |
| Protect what you cannot move | Place aluminum foil or plastic under heavy furniture legs to prevent rust and wood stains on damp carpet. |
| Hot water extraction outperforms shampooing | It removes allergens deeper and dries in 4–12 hours, reducing mold risk compared to shampooing. |
| DIY pre-treatment adds value | Baking soda, white vinegar, and blotting techniques loosen stains and odors before professional cleaning. |
| Drying requires active management | Run fans across the carpet surface, keep humidity below 60%, and avoid foot traffic until fully dry. |
What i’ve learned after watching hundreds of carpet cleanings go wrong
The preparation mistakes I see most often are not complicated. They are the steps homeowners assume do not matter much. Insufficient vacuuming is the biggest one. People run a vacuum over the room once, quickly, and consider it done. Then the cleaning machine pushes that embedded grit deeper into the fiber instead of extracting it. The carpet looks worse after cleaning than before, and the homeowner blames the machine or the product.
The second most common oversight is furniture protection. A sofa leg sitting on damp carpet for 12 hours can leave a rust or wood stain that no cleaning will remove. Two minutes with a sheet of aluminum foil prevents a permanent problem.
My honest recommendation is to treat preparation as the actual work and the cleaning itself as the final step. If you follow a systematic checklist, including the allergen-reducing cleaning methods that matter for sensitive households, you will get results that last. DIY pre-treatment with baking soda and vinegar is genuinely useful, but it works best as a complement to professional extraction, not a substitute. Invest the time upfront. Your carpet’s lifespan depends on it far more than the cleaning product you choose.
— Jim
Ready for a professional clean that starts right

Carpetandtileplus brings over 20 years of IICRC-certified experience to every residential carpet cleaning job in the Northwest Suburbs of Chicago, serving Elgin, Bartlett, Streamwood, Arlington Heights, Palatine, Barrington, and Hanover Park. The team uses organic cleaning products and professional-grade hot water extraction equipment, delivering a one-hour dry time that keeps your day on track. Every job follows the same expert preparation standards covered in this guide. If you want results that go beyond what DIY methods can deliver, schedule your residential carpet cleaning with Carpetandtileplus and see the difference that proper preparation and professional equipment make.
FAQ
What is the first step in preparing for carpet cleaning?
The first step is removing or protecting furniture in the room. Clear lighter pieces entirely and place aluminum foil or plastic barriers under heavy furniture legs to prevent staining on damp carpet.
How long does carpet take to dry after hot water extraction?
Hot water extraction dries in 4–12 hours under good ventilation. Running fans across the carpet surface, using your HVAC system, and keeping indoor humidity below 60% keeps drying within that window.
Can i use vinegar and baking soda before professional cleaning?
Yes. Baking soda neutralizes odors and vacuums out cleanly, while a white vinegar and water solution loosens fresh stains when blotted correctly. Both are safe pre-treatment options that improve professional cleaning results.
Why does carpet look dirty again so quickly after shampooing?
Shampoo residue left in the fiber attracts new dirt rapidly. Always follow a shampooing session with a plain water rinse pass to remove detergent buildup and extend how long your carpet stays clean.
How often should i deep clean my carpets?
Industry experts recommend professional deep cleaning every 6–12 months for most homes, and every 3 months for households with pets or allergy sensitivities. Weekly vacuuming between deep cleans prevents buildup from compounding.