
Grout cleaning is the process of removing soil, oils, soap scum, mildew, and old sealant residue from grout lines before a protective sealer is applied. Skipping this step is the single most common reason grout seals fail early. How grout cleaning prepares the surface for sealing comes down to one principle: sealers bond to clean, dry, porous grout. They cannot penetrate or adhere to grout that is coated in grime, moisture, or failing old sealant. Tools like neutral-pH grout cleaners, stiff nylon brushes, and moisture testers are the foundation of proper surface preparation. Grout must dry for 24–72 hours after cleaning before sealing begins.
What does grout cleaning remove, and why does it matter before sealing?
Grout is a porous material. That porosity is exactly what allows sealers to penetrate and form a protective barrier. When dirt, oils, soap scum, or mildew fill those pores, the sealer has nowhere to go. The result is a seal that sits on top of contamination rather than bonding with the grout itself.
Sealing dirty grout locks in stains and bacteria, reducing sealer effectiveness and shortening the lifespan of your tiled area. Embedded soil causes irreversible discoloration within 6–12 months without maintenance. That timeline is faster than most homeowners expect.
Generic household cleaners make the problem worse. Products like bleach-based sprays or all-purpose bathroom cleaners leave chemical residues that interfere with sealer adhesion. Grout-specific, neutral-pH cleaners emulsify dirt and oils without leaving behind a film that blocks penetration.
Old sealant is another hidden obstacle. If a previous sealer is failing or partially intact, applying a new coat over it creates an uneven finish with pooling and sticky patches. The old sealant must be stripped completely before any new sealer goes down.
- Soil and grime: Block sealer penetration at the pore level
- Soap scum and oils: Create a slick barrier that prevents bonding
- Mildew and bacteria: Get sealed in permanently, causing odor and health concerns
- Household cleaner residue: Leaves a chemical film that repels sealer
- Old or failing sealant: Causes uneven application and poor adhesion
Pro Tip: After rinsing your grout cleaner, run a clean white cloth along the grout line. If it picks up color or residue, rinse again. Sealing over residue is the same as not cleaning at all.
How does moisture affect grout sealing success?
Grout can look dry on the surface while still holding significant moisture deeper in the line. This is the detail most homeowners miss. Industry standards require waiting 24–48 hours before sealing after deep cleaning, with longer waits in humid environments. Grout is porous at 15–20% volume, and that moisture must fully evaporate before sealer can penetrate.
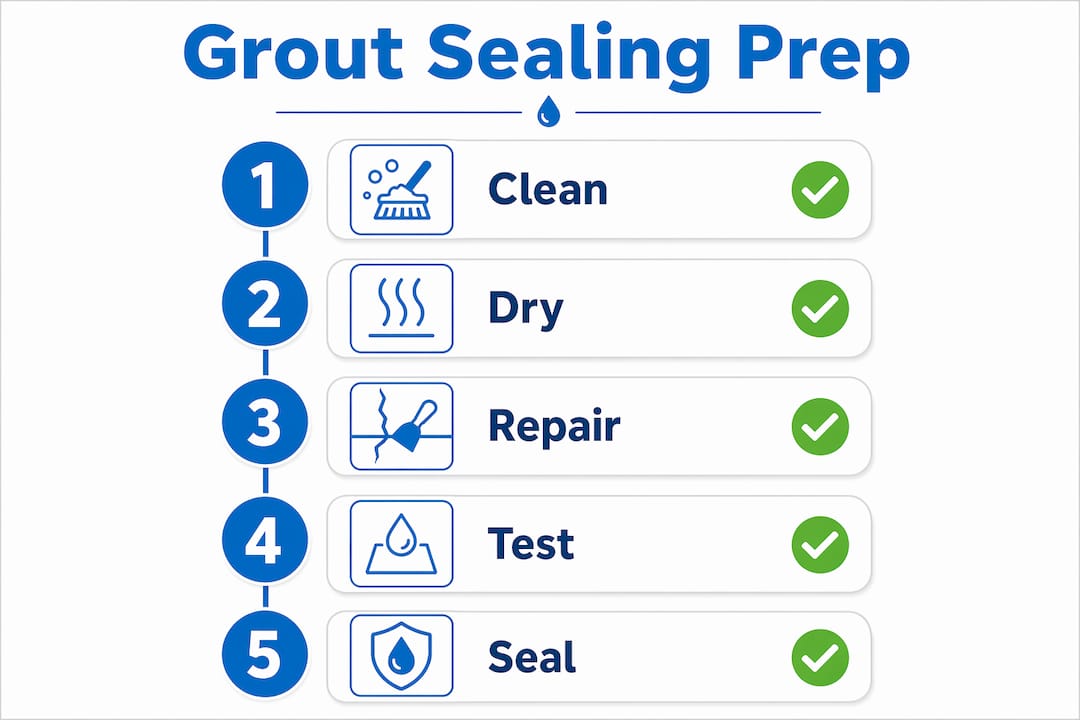
Sealing too soon traps moisture beneath the sealer. That trapped moisture causes haze, patchiness, and mildew growth beneath the seal. Correcting it requires stripping the sealant entirely and starting over. That is a costly and time-consuming mistake.
Environmental conditions control how long drying takes. Follow these steps to confirm grout is ready before you apply sealer:
- Wait the full drying window. Allow 24–48 hours after cleaning in normal conditions. In humid climates or poorly ventilated bathrooms, wait up to 72 hours.
- Improve airflow. Run a fan or dehumidifier in the room to accelerate moisture evaporation from the grout lines.
- Check the temperature. Grout dries fastest between 65°F and 85°F. Cold or damp conditions extend drying time significantly.
- Perform the water-drop test. Place a few drops of water on the cleaned grout line. If water absorbs quickly, the grout is ready. If it beads up, old sealant or residue remains and must be addressed first.
- Confirm with a visual check. Dry grout appears lighter and more uniform in color. Damp grout looks darker and uneven.
The water-drop test is the most reliable field check for grout readiness. It reveals both moisture presence and old sealant in one step. Sealed grout maintains a floor safety friction coefficient of 0.42–0.60 per OSHA recommendations, which means a properly sealed floor is also a safer floor.
Sealing over failing sealant causes pooling and sticky patches that require full sealant stripping before correction. Catching this with the water-drop test before you open a new bottle of sealer saves hours of rework.
What tools and methods work best for cleaning grout before sealing?
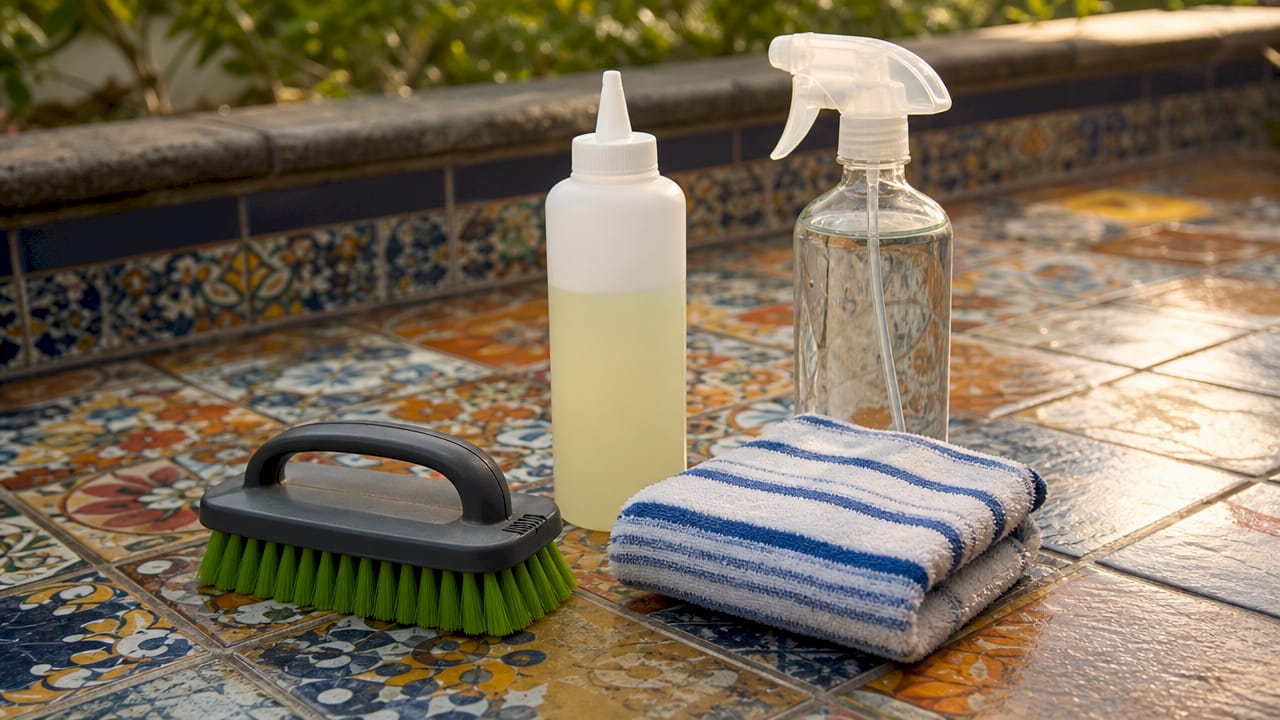
The right tools protect grout integrity while removing contaminants thoroughly. The wrong tools create new problems. Metal-bristled brushes shred grout surfaces, creating microabrasions that trap dirt and make future cleaning harder. Nylon bristles or soft scrubbing pads are the correct choice for effective agitation without surface damage.
The cleaning process follows a clear sequence. Skipping steps leaves residue behind that undermines the seal.
- Step 1: Vacuum or dry sweep. Remove loose debris from tile and grout lines before applying any liquid. Wet cleaning over dry debris turns grit into an abrasive slurry.
- Step 2: Apply a neutral-pH grout cleaner. Spray or apply the cleaner directly to grout lines. Allow it to dwell for the time specified on the product label, typically 5–10 minutes, so it can emulsify oils and loosen embedded soil.
- Step 3: Agitate with a nylon brush. Scrub along the grout line with firm, consistent pressure. Work in small sections to keep the cleaner active.
- Step 4: Rinse thoroughly. Use clean water and a mop or sponge to remove all cleaner residue. Rinse twice if the grout is heavily soiled.
- Step 5: Verify cleanliness. Run a white cloth along the grout line. Inspect visually for uniform color and no visible residue.
Professional-grade cleaning equipment removes deep oils and residues that homeowners often miss with standard tools. Truck-mounted hot water extraction systems, for example, flush contaminants out of grout pores at temperatures and pressures that consumer equipment cannot match. That level of deep grout cleaning is what makes the difference between a seal that lasts one year and one that lasts several.
Pro Tip: Test your cleaner on a small, hidden section of grout first. Some colored grout can react to certain cleaners. A 2-minute test patch prevents a permanent mistake.
When should you repair grout before sealing?
Sealing damaged grout does not fix it. It seals the damage in place. Sealing cracked or damaged grout leads to poor adhesion, water intrusion behind tiles, and eventual tile loosening. Repairs must happen before sealing, not after.
Inspect your grout lines carefully before you clean or seal. Look for these specific problems:
- Cracks or gaps: Grout that has separated from the tile edge or cracked through the line
- Powdery or crumbling texture: Grout that rubs off when you press it lightly with a finger
- Missing sections: Gaps where grout has fallen out entirely
- Loose tiles: Tiles that shift or click when pressed, indicating failed adhesive beneath
| Grout condition | Recommended action |
|---|---|
| Surface staining only | Deep clean, dry, then seal |
| Minor cracks or gaps | Apply grout repair caulk or regrout the line, then seal after curing |
| Powdery or crumbling grout | Remove and replace the affected section before sealing |
| Missing grout sections | Regrout completely, allow full cure time, then clean and seal |
| Loose tiles | Call a professional; tile adhesive failure requires substrate repair |
Homeowners can handle minor crack filling and regrouting with products available at hardware stores. Powdery or crumbling grout that covers a large area, or any situation involving loose tiles, calls for a professional assessment. Sealing over structurally compromised grout is a short-term fix that creates a long-term problem.
Key Takeaways
Thorough grout cleaning, complete drying, and repair of damaged lines are the three non-negotiable steps that determine whether a grout seal bonds properly and lasts.
| Point | Details |
|---|---|
| Clean before you seal | Dirt, oils, and residues block sealer penetration and cause early seal failure. |
| Use the right cleaner | Neutral-pH, grout-specific cleaners remove contaminants without leaving harmful residue. |
| Wait for full drying | Allow 24–48 hours after cleaning; use the water-drop test to confirm readiness. |
| Repair damage first | Cracked or crumbling grout must be fixed before sealing for proper adhesion. |
| Choose safe tools | Nylon brushes protect grout integrity; metal bristles cause permanent surface damage. |
What I’ve learned after years of watching homeowners seal over dirty grout
The most consistent mistake I see is confidence without preparation. A homeowner scrubs the grout with a bathroom spray, lets it dry for a few hours, and applies sealer the same afternoon. The floor looks great for about three months. Then the sealer starts peeling, the grout darkens, and they call us wondering what went wrong.
The answer is almost always the same: the grout was never truly clean, and it was never truly dry. Sealed grout is easier to maintain and tolerates aggressive cleaning better than unsealed grout. But that benefit only exists when the seal actually bonds. A seal applied over contamination is just a film sitting on top of a problem.
The water-drop test is the single most underused tool in DIY grout care. It takes 30 seconds and tells you everything you need to know about whether your grout is ready. I have seen homeowners skip it, seal over old sealant, and then spend a full weekend stripping the new coat because it pooled and never cured properly.
My honest advice: if your grout is more than a few years old, has visible staining, or is in a high-traffic bathroom or kitchen, hire a professional for the cleaning step. Do the sealing yourself if you want. But professional cleaning extends grout life in ways that consumer tools simply cannot replicate. The cost of one professional cleaning is far less than the cost of regrouting a bathroom floor.
— Jim
Carpetandtileplus: professional grout cleaning for a seal that actually holds
Carpetandtileplus serves homeowners and property managers across the Northwest Suburbs of Chicago, including Elgin, Bartlett, Streamwood, Arlington Heights, and Palatine. Our IICRC-certified team uses organic, neutral-pH cleaning solutions and professional-grade equipment to remove the deep oils, residues, and old sealant that consumer tools leave behind.

When your grout is clean at the pore level, sealer bonds the way it is designed to. Our residential tile and grout cleaning service prepares your surfaces correctly so your seal lasts. Property managers can count on our commercial tile and grout cleaning service for high-traffic areas that need thorough preparation before resealing. With over 20 years of experience and a one-hour dry time, we minimize disruption while delivering results that hold up. Contact Carpetandtileplus to schedule a cleaning before your next sealing project.
FAQ
Why must grout be clean before sealing?
Dirt, oils, and residues block sealer from penetrating grout pores, preventing proper bonding. Sealing over contamination locks in stains and shortens the seal’s lifespan significantly.
How long should grout dry after cleaning before sealing?
Grout requires 24–48 hours of drying time after deep cleaning before sealer is applied. In humid environments or poorly ventilated spaces, wait up to 72 hours to avoid trapping moisture beneath the seal.
What is the water-drop test for grout?
The water-drop test involves placing a few drops of water on cleaned grout. If water absorbs quickly, the grout is ready to seal. If it beads, old sealant or residue remains and must be removed first.
Can I use any brush to scrub grout before sealing?
Metal-bristled brushes damage grout by creating microabrasions that trap dirt permanently. Use stiff nylon brushes or soft scrubbing pads for safe, effective agitation.
Does grout need to be repaired before sealing?
Yes. Cracked, crumbling, or missing grout must be repaired and fully cured before sealing. Applying sealer over damaged grout causes poor adhesion and allows water to intrude behind tiles.