
Grout discoloration almost always traces back to one of five culprits: surface staining from oil or dirt, mold and mildew in damp zones, efflorescence (that white mineral haze), polymer migration from moisture during curing, or installer mixing errors. Before reaching for any cleaner, check where the discoloration sits and run a quick water test on the grout, since location and absorption tell you more than color alone.
TL;DR:
- Grout discoloration caused by efflorescence is usually white and near exterior slabs, recurring as long as the moisture source remains active.
- Yellowing from kitchen grease concentrates around stoves and ranges and often requires degreasers or regrouting for complete removal.
- Mold and mildew appear as black or green spots in damp areas like showers and sinks, needing specific cleaning with organic or mold-targeted products.
- Persistent stains that do not improve after multiple cleaning attempts likely penetrate the grout, warranting professional treatment to avoid damage.
- Proper sealing and choosing epoxy grout can significantly prevent future discoloration, especially in high-moisture or high-traffic areas.
Table of Contents
- What Causes Grout Discoloration Across Different Rooms
- How to Identify the Cause From Location and Appearance
- Cleaning and Repair Steps Based on What’s Causing the Stain
- Preventing Grout Discoloration Before It Starts
- When a Professional Should Handle Grout Discoloration
- A Practical Take on DIY Versus Calling a Pro
- Get Your Grout Professionally Assessed and Restored
- Sources
- FAQ
What Causes Grout Discoloration Across Different Rooms
Grout is a porous, cement-based material, which is exactly why it stains so easily and why the fix depends entirely on what’s causing it.
Efflorescence shows up as a chalky white powder, usually near exterior thresholds, basements, or anywhere moisture moves through a slab. It happens when water traveling up through concrete carries dissolved minerals to the surface and leaves them behind as it evaporates. This process commonly originates below the slab itself, and it will keep coming back as long as that moisture source stays active.
Kitchen yellowing is a different animal entirely. Cooking oil vaporizes every time you sear something, and that airborne grease settles into porous grout lines near the range over months and years, gradually darkening them to amber or brown.
Mold and mildew favor showers, tub surrounds, and areas around sinks where humidity lingers. Black or greenish spotting along grout lines is a moisture and organic-growth problem, not a stain in the traditional sense.
Installer errors cause blotchy, uneven color that shows up almost immediately after a new tile job. Common mistakes include adding too much water during mixing, blending partial bags together, skipping the slaking step, or wiping grout too early with a sponge before it sets. Premature foot traffic on freshly grouted floors also disrupts color uniformity.
Other frequent causes include:
- Polymer migration: excess moisture before polymer additives fully coalesce leaves a white film that looks similar to efflorescence but behaves differently when cleaned.
- Hard-water deposits: mineral buildup from tap water, often paired with soap scum, appears as a hazy gray film near faucets and shower heads.
- Cleaner damage: acidic cleaners etch cement, while wax-based or oil-based products leave sticky residue that attracts more dirt.
- Traffic wear: worn sealer combined with ground-in dirt darkens grout gradually in hallways and entryways.
How to Identify the Cause From Location and Appearance
Matching what you see to where you see it narrows the list fast.
- White powder that brushes off partially = efflorescence, especially near exterior doors, basements, or new concrete.
- White film that won’t brush away = polymer residue or leftover cleaner haze, common right after a new install.
- Yellow or amber tint = oil and grease absorption, almost always concentrated near stoves and range hoods.
- Black or green spotting = mold or mildew, typically in showers and around sinks.
- Gray or dark patches in walkways = ground-in dirt combined with worn or missing sealer.
Once you’ve got a suspect, test it. Drop three or four beads of water directly onto the grout line. If the water sits on top for a few minutes before soaking in, the sealer is still doing its job and the discoloration is likely surface level. If the water absorbs almost instantly, the sealer is worn out and the grout is vulnerable to whatever’s causing the staining.
For the stain itself, always test in an inconspicuous spot first. Start with a pH-neutral cleaner, escalate to oxygen bleach if needed, and only consider a mild acid as a last resort, and never on natural stone or polished tile, since acids can etch both the grout and the surrounding material.
Pro Tip: If a stain lightens noticeably after one gentle cleaning pass, you’re likely dealing with surface residue. If three or four attempts barely move it, the discoloration has probably penetrated the grout itself, and it’s time to call in a professional before you make things worse.
Cleaning and Repair Steps Based on What’s Causing the Stain
Work from gentle to aggressive, and stop the moment you get results.
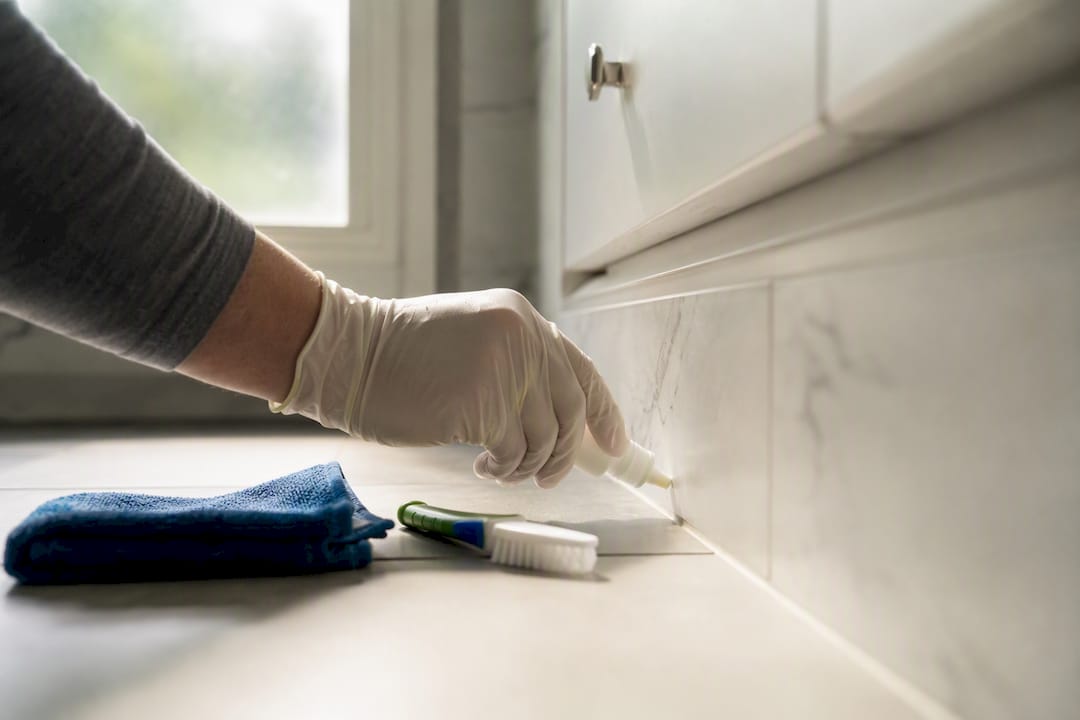
For light surface staining, warm water and a nylon brush handle a surprising amount. A baking soda paste left to sit for ten to fifteen minutes lifts everyday grime without touching the grout’s structure. When that’s not enough, oxygen bleach outperforms chlorine bleach for organic stains and mold because it breaks down organic matter without the harsh fumes or the risk of color fading that chlorine carries.
Kitchen oil stains need a true degreaser, not just a general cleaner. Apply it, let it dwell for the time listed on the product, agitate with a stiff brush, then extract with a wet vacuum or clean rag. Deep grease absorption near a range sometimes takes several rounds, and grout that’s absorbed years of cooking oil may never fully clear without regrouting.
Efflorescence responds best to mechanical brushing first. If that doesn’t clear it, manufacturer-formulated efflorescence removers work more predictably than random household acids. Because efflorescence signals an active moisture path, cleaning it away without addressing the water source means it will likely return within weeks. Professional remediation typically pairs mechanical removal with substrate moisture testing to find and treat that source.
- Polymer residue often needs solvent-based products or professional-grade methods; standard cleaners barely touch it.
- Steam cleaning can lift stubborn buildup, but on grout with active polymer migration it can worsen the film rather than remove it.
- Crumbling grout, deeply saturated oil stains, or pigment that’s changed color permanently all point toward regrouting instead of continued cleaning.
If you’ve run the full mild-to-strong sequence and the discoloration hasn’t budged, or if you’re seeing signs of a moisture source behind the wall or slab, that’s your signal to bring in a professional before spending more time and product on a fix that won’t hold.
Preventing Grout Discoloration Before It Starts
Sealing is the single biggest lever homeowners have. Penetrating sealers soak into the grout and repel water from within, while topical sealers sit on the surface and need more frequent reapplication. Either way, reseal once the water-bead test shows absorption instead of beading.
Grout type matters just as much as sealing schedule. Epoxy grout resists staining far better than standard cementitious grout because it’s less porous, though it costs more and installs differently. If you’re picking colors for a new install, medium grays and beiges hide everyday soil far better than stark white or jet black, both of which show variation and wear faster.
Daily habits add up too:
- Wipe up spills before they sit, especially oil and acidic foods.
- Skip wax-based or oil-based cleaning products entirely.
- Rinse thoroughly after mopping to prevent soap film buildup.
- Run a range hood exhaust while cooking to cut down airborne grease.
- Place mats at exterior entries to reduce tracked-in dirt and moisture.
Installers can prevent a lot of this before day one by mixing full bags only, letting grout slake properly, avoiding early sponge-wiping, and keeping foot traffic off new grout until it cures fully.
When a Professional Should Handle Grout Discoloration
Moisture migration, deep oil saturation, widespread pigment loss, or grout that’s crumbling are all situations where DIY cleaning risks making things worse. A qualified technician runs moisture testing to confirm whether efflorescence has an active source, then applies controlled chemical treatments, poultices, or extraction methods matched to your tile type. Technicians are certified by industry standards, use organic cleaning products, and typically leave surfaces dry within an hour. When you’re vetting anyone for this work, ask for a written estimate, a clear process explanation, confirmation the method suits your specific tile, and whether a satisfaction guarantee backs the job.

A Practical Take on DIY Versus Calling a Pro
Start with the gentlest test and the mildest cleaner you have. Stop before acids or abrasive pads enter the picture. An early professional inspection often costs less than an afternoon spent making a moisture problem worse.
— Jim
Get Your Grout Professionally Assessed and Restored
Professional cleaning services can offer a one-hour dry time paired with organic products that treat the actual cause, not just the surface symptom.

Whether you’re dealing with efflorescence that keeps creeping back near an exterior door, grease-darkened lines around the stove, or grout that’s simply lost its original color after years of foot traffic, our IICRC-certified technicians diagnose the source before treating it. That’s the difference between a cleaning that lasts and one you’ll be redoing in a month. We also offer grout sealing once your grout is properly cleaned and dried, plus grout replacement for lines that have crumbled or saturated beyond recovery. As a family-owned business serving Elgin, Bartlett, Streamwood, Arlington Heights, Palatine, Barrington, and Hanover Park, we back every job with a satisfaction guarantee. Request an inspection through our residential tile and grout cleaning page and get a straight answer on what’s causing your discoloration and what it takes to fix it.
Sources
For deeper technical detail, the Tile Council of North America’s white residue guidance, LATICRETE’s grout color technical datasheet, and BobVila’s grout cleaning guide cover mixing standards, sealer chemistry, and step-by-step cleaning recipes in more depth. For related staining on adjacent cement surfaces, see this concrete staining overview.
- White Residue | Tile Council of North America
- LATICRETE grout color and jobsite guidance (technical datasheet)
- How to clean grout | BobVila
FAQ
How Can I Fix Grout Discoloration Myself?
Start with a pH-neutral cleaner and a nylon brush, escalate to oxygen bleach for organic stains, and always test in a hidden spot first. If the stain hasn’t budged after several attempts, it’s likely gone deeper than surface cleaning can reach.
How Do I Stop Grout From Discoloring Over Time?
Seal grout with a penetrating sealer, wipe up spills immediately, avoid wax or oil-based cleaners, and run your range hood while cooking to cut down airborne grease that settles into kitchen grout lines.
What’s the Best Way to Remove Discoloration From Grout?
It depends on the cause: oxygen bleach works well for mold and organic staining, degreasers handle kitchen oil, and mechanical brushing followed by a manufacturer-formulated remover targets efflorescence. Carpetandtileplus diagnoses the cause first so the treatment actually matches the problem.
How Do You Whiten Darkened Grout?
A baking soda paste or oxygen bleach solution left to sit for ten to fifteen minutes brightens grout darkened by everyday dirt and grime. For grout darkened by deep oil saturation or years of wear, professional cleaning or regrouting usually delivers better, longer-lasting results than repeated home attempts.